IKEA Furniture Assembly Tips
If you're a first-time shopper of IKEA, you will soon find out that assembly is needed for nearly all of their furniture. This blog post will provide you with a few helpful tips to assemble your furniture with as little stress as possible.
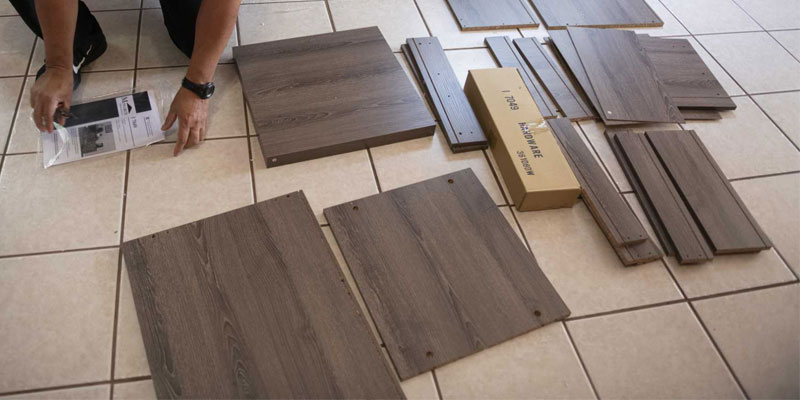
First, remove all parts out of the box and arrange it on the floor in front of you. Provide yourself sufficient workspace to assemble the item and make sure you are not too far from the end spot for your new furniture. The last task you need after assembling a heavy item is the need to move it to its end location.

As soon as you have all parts placed in front of you, find the directions, and review the nuts and bolts page. This page shows what the bolts, nuts, and screws will be called in the directions that follow. Match up the exact screws, nuts, and bolts with the images on the page. While this may appear tedious, it will keep you from using the wrong bolts, screws, or nuts.
Now you're set to start assembling. The solution to assembling IKEA furniture is to perform each step in the instruction correctly. Pay attention to all the details the instructions present, I cannot emphasize this enough. In case the instructions display board with holes facing a certain way, make sure that your board has the holes pointed in that exact direction.
Staying detail-oriented in this way guarantees that you will assemble it correctly the first time and not having to go back several steps to fix a mistake. During this assembly method, a couple of valuable tips will help prolong the lifetime of your furniture.
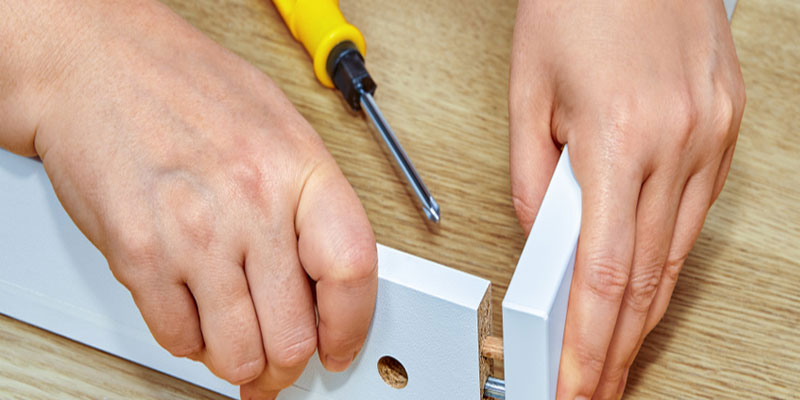
First, if you have some wood glue, I strongly recommend applying each wooden fastener pin a drip of it before driving it into its corresponding hole. Wood glue will go a long way in maintaining that joint securely in place.
A little more on fasteners pins:
The diameter of wooden pins are created to be a tad larger then the hole it is to be inserted in. This permits something called a "press fit". The strips on the fasteners pin are engineered to spread when embedded into the hole, therefore they are called "crush ribs". Sadly, through quality check errors, this perfect "press fit" is not always accomplished. Therefore applying a small dab of wood glue to the hole will assist in keeping the dowel from separating.

The second tip I'd like to address is the amount of strength you apply to the screws used to hold the furniture together.
Most IKEA furniture is created of either pinewood or particleboard. These materials (while cheap) are quite soft. Accordingly, if you are screwing anything into them, using an extreme amount of strength can be counterproductive and end up weakening or damaging the area around the screw.
I hope this blog assisted you successfully to assemble your IKEA furniture. In case you would like to hire someone to do assemble it for you, We have great experience assembling IKEA furniture. Contact us at (305) 676-7969 to schedule a Free no-obligation Estimate!


